Draw three-dimensional icons
 Previous articles about icons has generated a lot of questions about the art of drawing, such, in fact, a illustrations. I will try to uncover this simple mystery:)
 A detailed description of what and where to click is not present, it would require writing a series of lessons, and I want to share a General principle.
As an example, took the icon from the current project.
Service Rizzoma is the collaboration system, an alternative to Google wave.
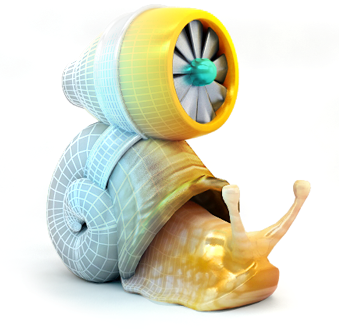
In the course of work on the site was the idea to make beautiful icons for each unit with the benefits of the service. The snail symbolizes contextual message and is essentially advanced by the @symbol
the
Thumbnail
Usually work on an icon starts with a pencil sketch, but this time was quite an inspiring image Fast snail. It was decided to make their version of the snail with the turbine — lovely and charming.the
Simulation
usually Model in 3D Max, but in fact the tool is not critical. With the same success it was possible to do it in Maya or Blender.the
Sink
Model is a rough low-poly, then put anti-aliasing.
the
slug and turbine
do the same on the soft part of the snail. For turbine-aliasing is not necessary, it is possible to make with a dense grid.
the
a model
putting it all together
the
Visualization
Render through Vray, version, better to take a fresher, so the bugs were smaller and everything was faster.the
the Scene
I use a fairly standard S-shaped stage with three light sources. It allows to obtain not too noisy with good reflections render at high speed miscalculation. Tutorial on creating similar scenes to watch for example here. I added two additional light sources, one blue, the other yellow to make colored highlights, and add "drama"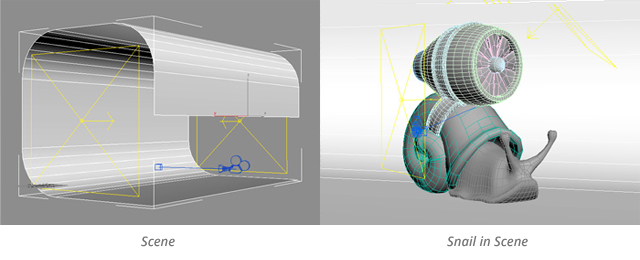
the
Rendered model
Doing a test render with a simple gray texture, to see how the light falls. It is seen that a slightly modified strap for mounting the turbine.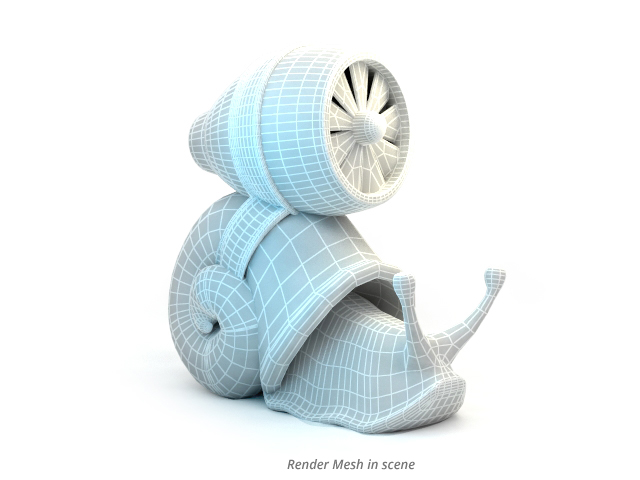
the
texture mapping
Find any picture of a snail and analyze it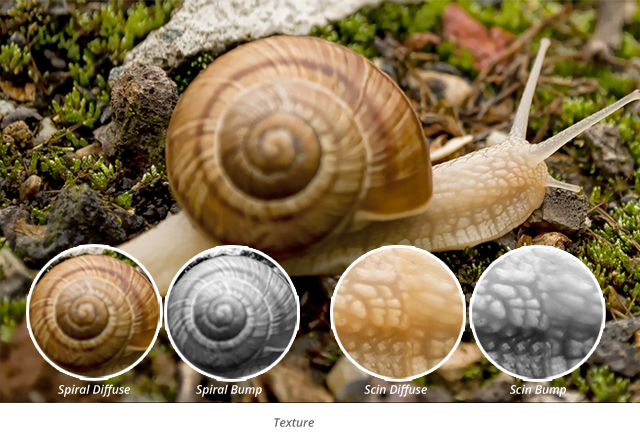
the
Render
Calculate the image in a higher resolution than is required to continue after the treatment to reduce it and "should be security". So it turns out a higher quality end result, less noise and clearer details.
the
Mask
Additionally render an alpha channel and masks for different objects. Theoretically, the mask can be considered as one channel, distributing the right materials (or objects) corresponding ID, but I'm comfortable individually.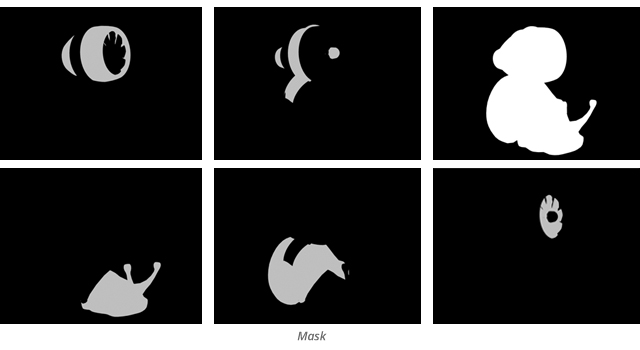
the
Postprocessing
Ready, quite dirty and unkempt, adjusted the render in photoshop:— Using an alpha channel cut out the object from the background
— Make the background more light and contrast, remove the excess leaving only a shadow
— The masks cut out the objects on separate layers.
— Each object processed, make brighter, contrast, add highlights, adjust the shape, etc. Some exact algorithm of these actions is difficult to make, all done by eye and depends on what material is processed and that I want to
the
Final
reduce and add a Little sharpness.Big the snail will be used for items that are small on the main page.


