We remove radial distortion from photos and videos with the help of the openCV library and the python language
this article will tell about the use of computer vision library (openCV) to remove the effect of radial distortion (distortion) with photos and videos. This effect is also known as the fisheye effect (fisheye) or distortion. The decision to write this article was taken after several days of search the Internet. Despite the fact that there are guides in English, they do not explain how to install openCV to work together. The article gives you ready code.
Once here is a photo of the final result. On the left the original photo, to the right is processed:

building and installing openCV
the First thing to do is to properly install the library openCV. To do this, download from the official repository of the two projects, openCV and opencv_contrib.
the
git clone https://github.com/opencv/opencv.git
git clone https://github.com/opencv/opencv_contrib.git
While loading openCV installed a video codec ffmpeg:
the
sudo apt-get install ffmpegGo to the folder openCV, create a subfolder buid and go into it. All work on the Assembly and installation of the openCV library will be made from this directory.
the
cd opencv
mkdir build
cd build/
To build the library, execute the following command:
the
cmake .. -DOPENCV_EXTRA_MODULES_PATH=/path to the folder opencv_contrib/modules/ /path to the folder opencv/
make-j5
sudo make install
I Have the Assembly took about an hour and a half to install — a few minutes. Please note: if you have any error when you build(cmake command), for a new start you must delete the file CMakeCache.txt. After the installation can check to see how well it turned out. It is possible to cause a working python and import the library openCV. If no error has occurred, you did the right thing. The second line will show what version you have installed. At the time of this writing I used version 3 of the library.
the
import cv2
print ("OpenCV version : {0}".format(cv2.__version__))
camera Calibration
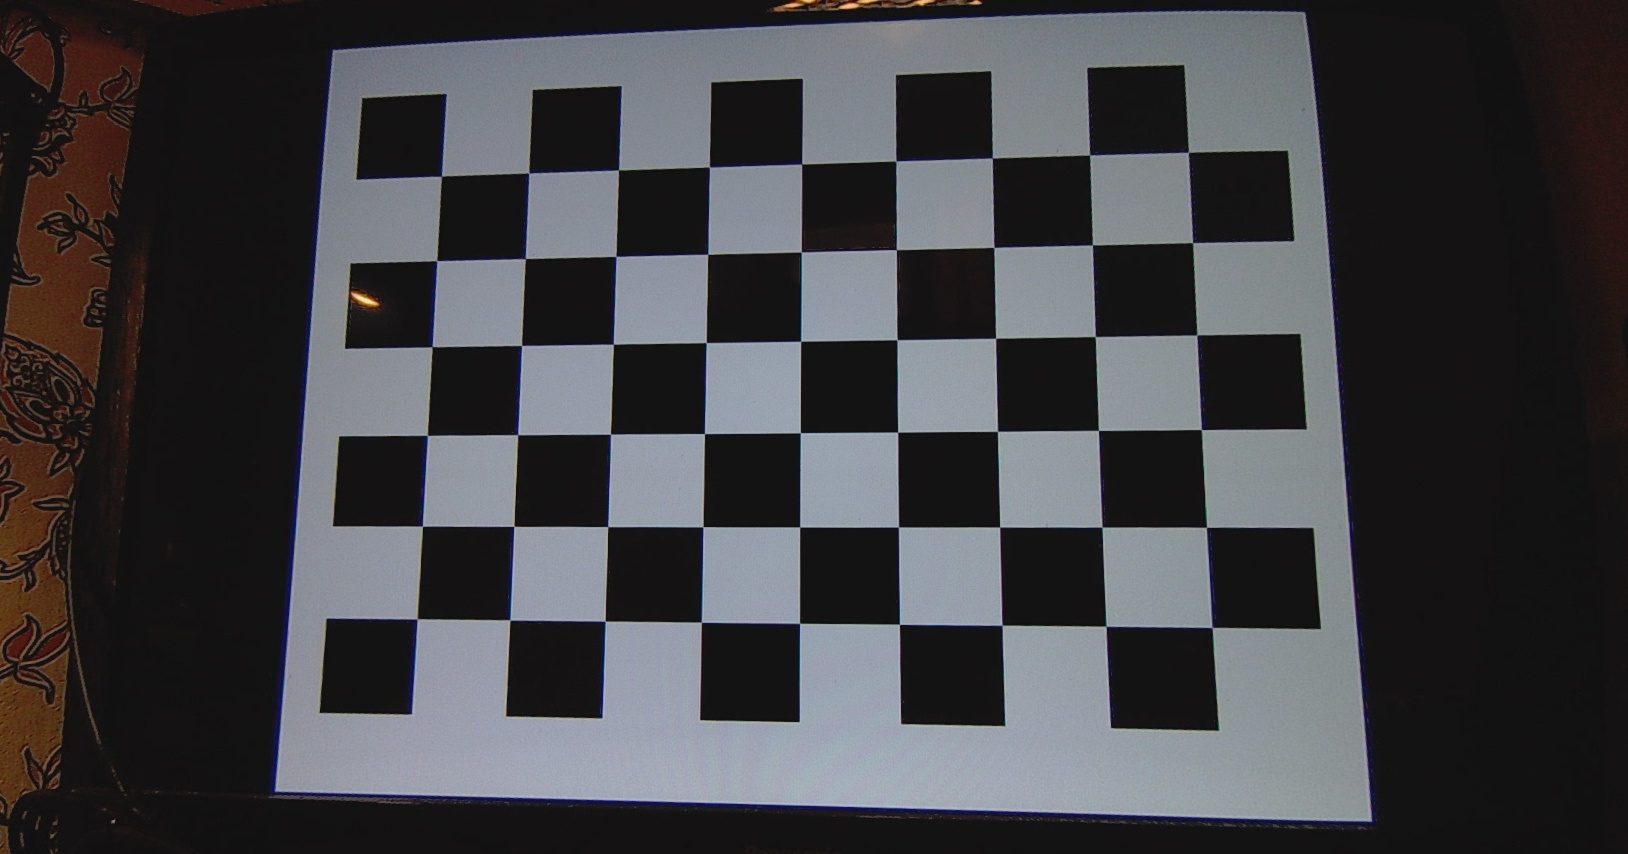
in order to remove the distortion, we need to determine calibration factors for our camera. For this you need to download the image from chess Board, to make 5-6 shots on the camera image from which we want to process. All images must be converted to png. Next, execute the following code:
from __future__ import print_function
import numpy as np
import cv2
from common import splitfn
import os

if __name__ == '__main__':
import sys
import getopt
from glob import glob

args, img_mask = getopt.getopt(sys.argv[1:], ", ['debug=', 'square_size='])
args = dict(args)
args.setdefault('--debug', '/working directory/')
args.setdefault('--square_size', 1.0)
if not img_mask:
img_mask = '/image folder/*.png'
else:
img_mask = img_mask[0]

img_names = glob(img_mask)
debug_dir = args.get('--debug')
if not os.path.isdir(debug_dir):
os.mkdir(debug_dir)
square_size = float(args.get('--square_size'))

pattern_size = (9, 6)
pattern_points = np.zeros((np.prod(pattern_size), 3), np.float32)
pattern_points[:, :2] = np.indices(pattern_size).T.reshape(-1, 2)
pattern_points *= square_size

obj_points = []
img_points = []
h, w = 0, 0
img_names_undistort = []
for fn in img_names:
print('processing %s...' % fn, end=")
img = cv2.imread(fn, 0)
if img is None:
print("Failed to load", fn)
continue

h, w = img.shape[:2]
found, corners = cv2.findChessboardCorners(img, pattern_size)
if found:
term = (cv2.TERM_CRITERIA_EPS + cv2.TERM_CRITERIA_COUNT, 30, 0.1)
cv2.cornerSubPix(img, corners, (5, 5), (-1, -1), term)

if not found:
print('chessboard not found')
continue

img_points.append(corners.reshape(-1, 2))
obj_points.append(pattern_points)

print('ok')

rms, camera_matrix, dist_coefs, rvecs, tvecs = cv2.calibrateCamera(obj_points, img_points, (w, h), None, None)

print("\nRMS:", rms)
print("camera matrix:\n", camera_matrix)
print("distortion coefficients: ", dist_coefs.ravel())

cv2.destroyAllWindows()
the result of running this script, the console displays the message processing is displayed two important parameters are the camera matrix and distortion coefficients. These are the calibration coefficients that we need.
photo & video
For the processing of photo and/or video, you must run the scripts below. In scripts you need to specify your calibration settings and work folders.
from __future__ import print_function
import numpy as np
import cv2
import glob
from matplotlib import pyplot as plt
from common import splitfn
import os

img_names_undistort = [img for img in glob.glob("/path to folder with pictures/*.png")]
new_path = "/path to save processed images/"

camera_matrix = np.array([[1.26125746 e+03, 0.00000000 e+00, 9.40592038 e+02],
[0.00000000 e+00, 1.21705719 e+03, 5.96848905 e+02],
[0.00000000 e+00, 0.00000000 e+00, 1.00000000 e+00]]);
dist_coefs = np.array([-0.49181345, 0.25848255, -0.01067125, -0.00127517, -0.01900726]);

i = 0

#for img_found in img_names_undistort:
while i < len(img_names_undistort):
img = cv2.imread(img_names_undistort[i])
img = cv2.cvtColor(img, cv2.COLOR_BGR2RGB)

h, w = img.shape[:2]
newcameramtx, roi = cv2.getOptimalNewCameraMatrix(camera_matrix, dist_coefs, (w, h), 1, (w, h))

dst = cv2.undistort(img, camera_matrix, dist_coefs, None, newcameramtx)

dst = cv2.cvtColor(dst, cv2.COLOR_BGR2RGB)

# crop and save the image
x, y, w, h = roi
dst = dst[y:y+h-50, x+70 x+w-20]

name = img_names_undistort[i].split("/")
name = name[6].split(".")
name = name[0]
full_name = new_path + name + '.jpg'

#outfile = img_names_undistort + '_undistorte.png'
print('Undistorted image written to: %s' % full_name)
cv2.imwrite(full_name, dst)
i = i + 1from __future__ import print_function
import numpy as np
import cv2
import glob
from matplotlib import pyplot as plt
from common import splitfn
import os
FILENAME_IN = "videoin.mp4"
FILENAME_OUT = "videoout.mp4"
CODEC = 'mp4v'
camera_matrix = np.array([[1.26125746 e+03, 0.00000000 e+00, 9.40592038 e+02],
[0.00000000 e+00, 1.21705719 e+03, 5.96848905 e+02],
[0.00000000 e+00, 0.00000000 e+00, 1.00000000 e+00]]);
dist_coefs = np.array([-3.18345478 e+01, 7.26874187 e+02, -1.20480816 e-01, 9.43789095 e-02, 5.28916586 e-01]);
print ("OpenCV version : {0}".format(cv2.__version__))
print((cv2.__version__).split('.'))
# Load video
video = cv2.VideoCapture(FILENAME_IN)
fourcc = cv2.VideoWriter_fourcc(*list(CODEC))
fps = video.get(cv2.CAP_PROP_FPS)
frame_count = video.get(cv2.CAP_PROP_FRAME_COUNT)
size = (int(video.get(cv2.CAP_PROP_FRAME_WIDTH)),
int(video.get(cv2.CAP_PROP_FRAME_HEIGHT)))
summer. sizew = (1676, 846)
writer = cv2.VideoWriter(FILENAME_OUT, fourcc, 25, summer. sizew)
newcameramtx, roi = cv2.getOptimalNewCameraMatrix(camera_matrix, dist_coefs, (size[0], size[1]), 1, (size[0], size[1]))
x, y, w, h = roi
M = cv2.getRotationMatrix2D((size[0]/2,size[1]/2),5,1)
while video.grab() is True:
print("On frame %i of %i."%(video.get(cv2.CAP_PROP_POS_FRAMES), frame_count))
frame = video.retrieve()[1]
frame = cv2.undistort(frame, camera_matrix, dist_coefs, None, newcameramtx)
frame = frame[y:y+h-50, x+70 x+w-20]
writer.write(frame)
video.release()
writer.release()
